Sieve Filters
Automatic
Active filters process every incoming message without manual intervention.
Server-side
Rules run on the mail server, so they work even when Cypht is closed or your device is off.
Flexible
Move, copy, flag, discard, redirect, or run custom Sieve scripts on matching messages.
Your mail server must support Sieve or ManageSieve. IMAP support alone is not enough — some providers do not expose Sieve management even though they support reading mail over IMAP.
sievefilters to the CYPHT_MODULES variable:
CYPHT_MODULES="core,imap,smtp,sievefilters"modules[]=sievefilters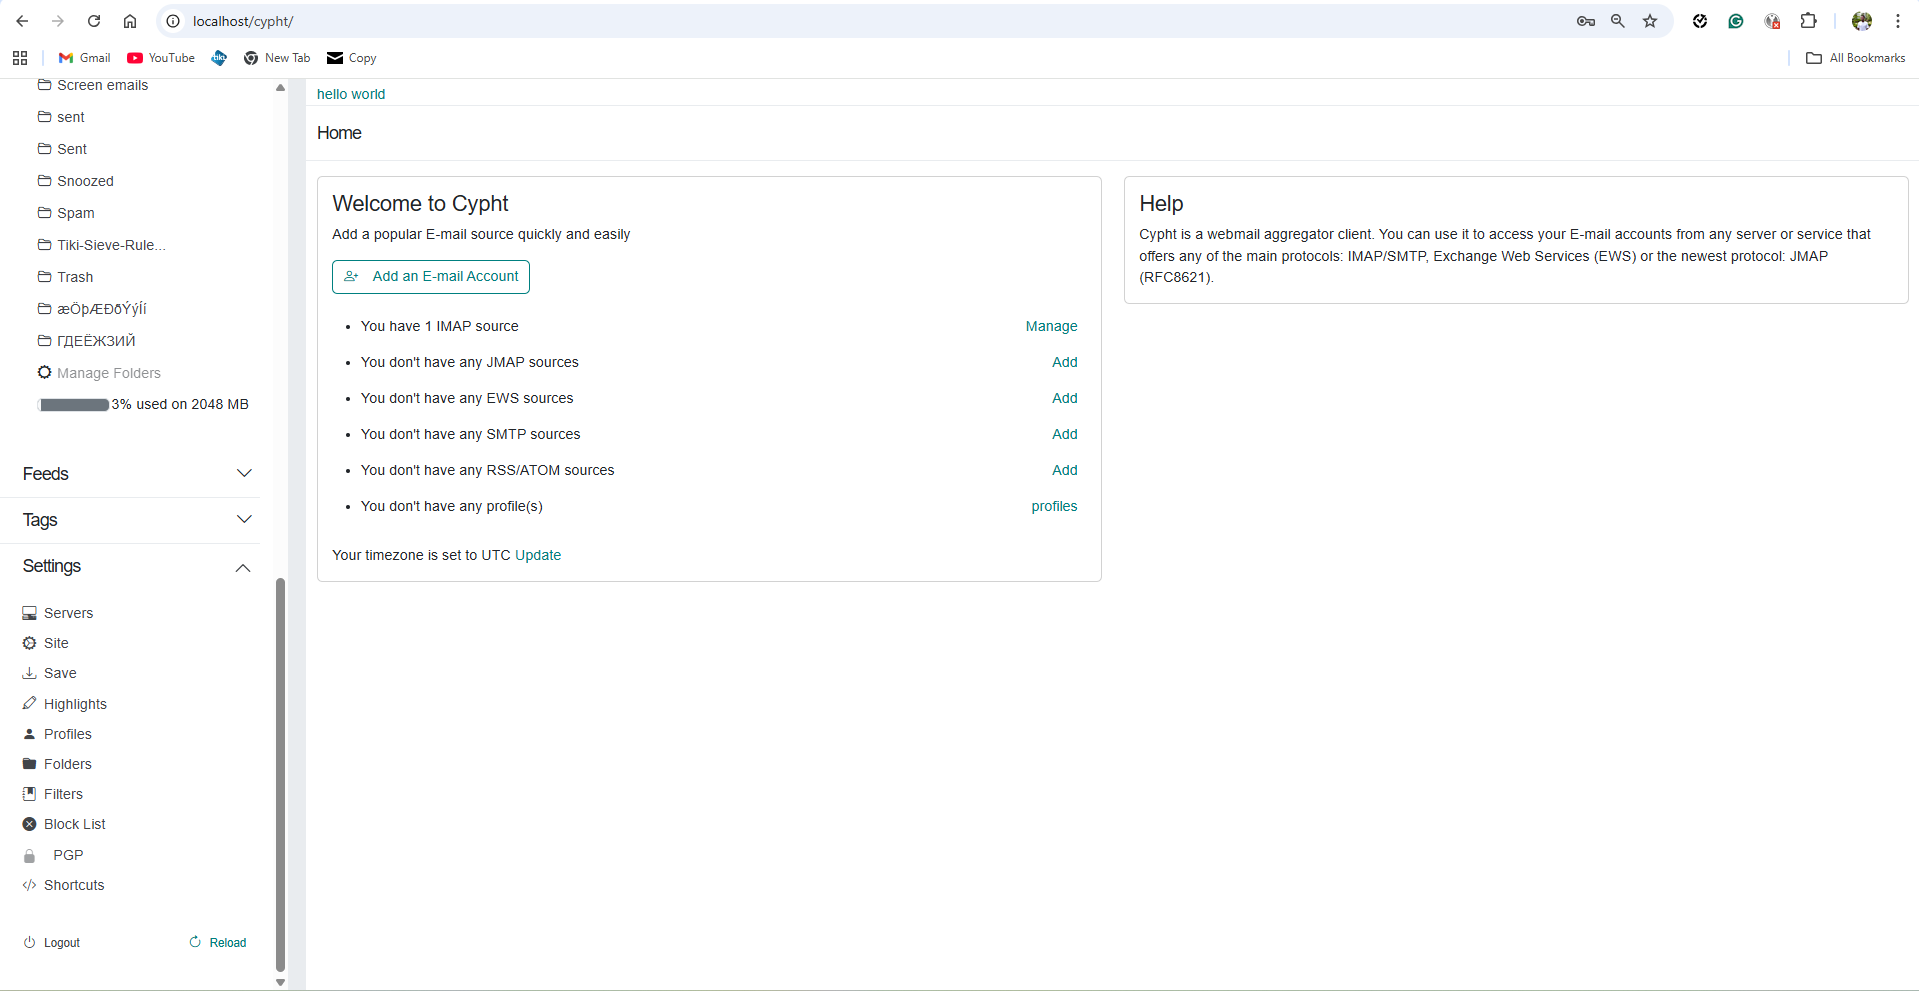
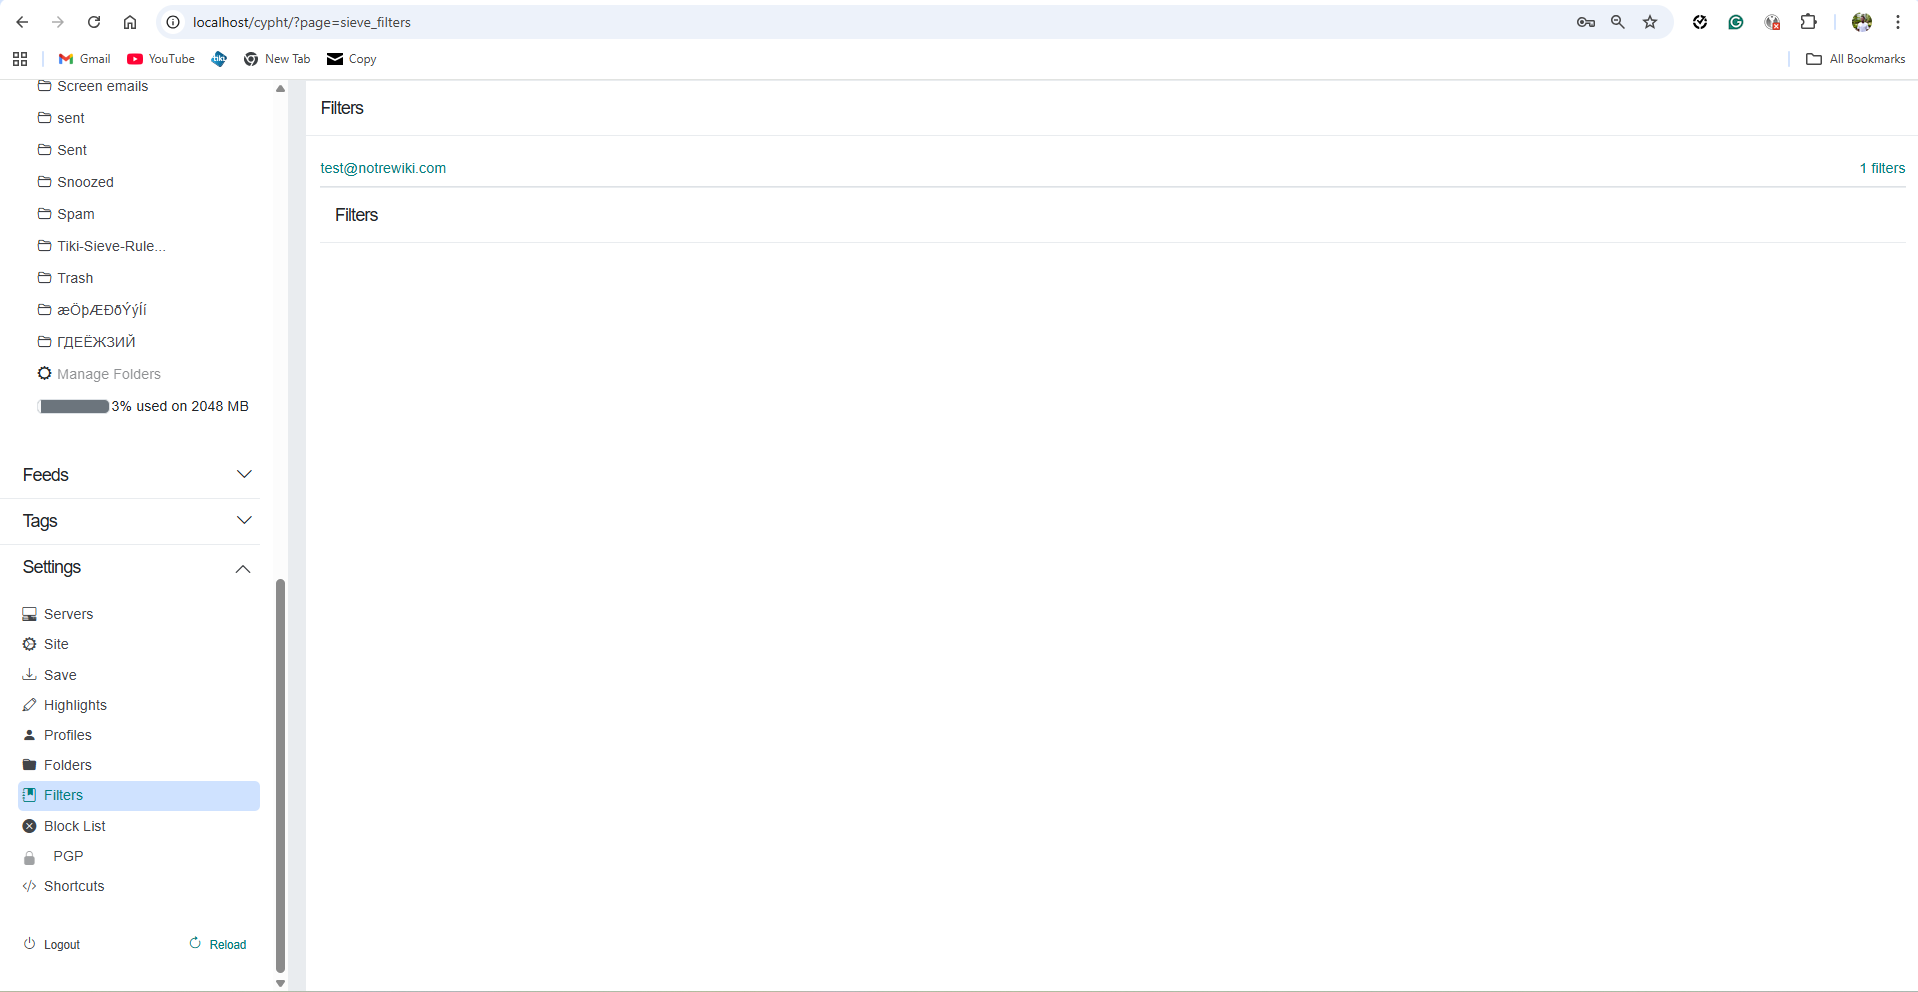
- Open Settings in the sidebar.
- Click Filters.
- Select the email account you want to manage.
- Click Add Filter.
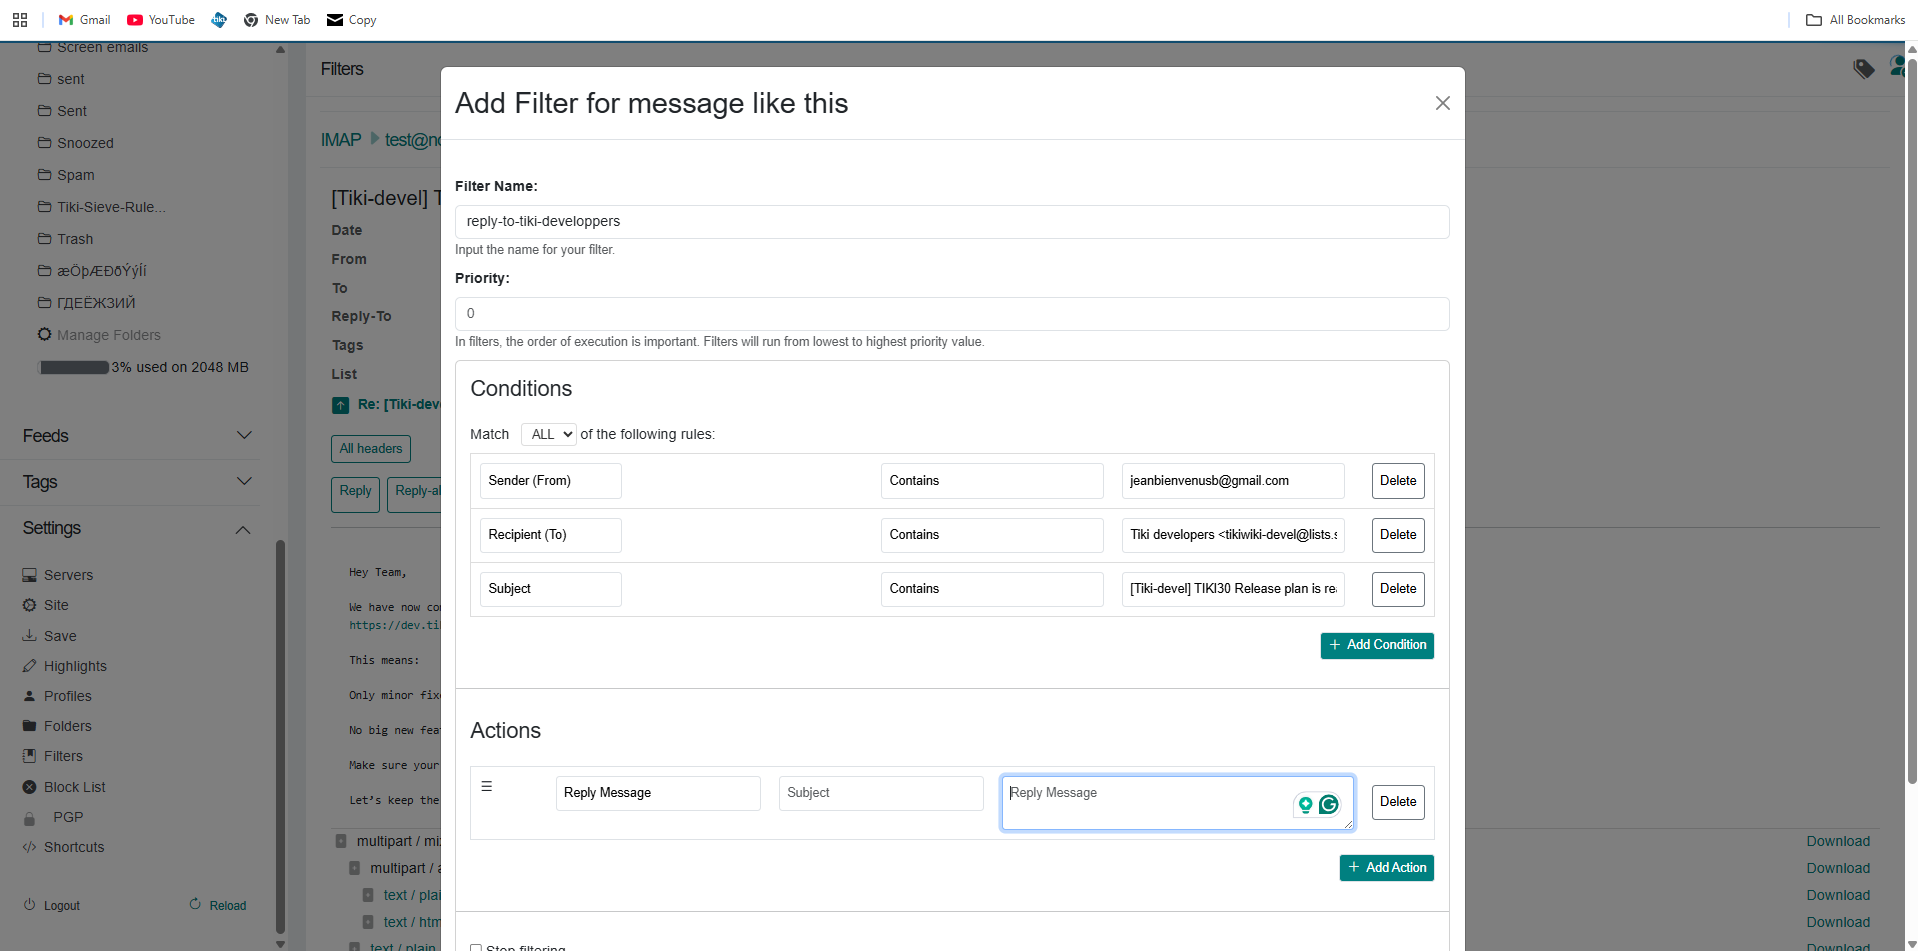
- Enter a filter name and set its priority.
- Add one or more conditions (sender, subject, recipient, body, etc.).
- Set the test logic: use ALLOF if every condition must match, or ANYOF if any single condition is enough.
- Choose the action: move to folder, copy, flag, discard, redirect, etc.
- Save the filter.
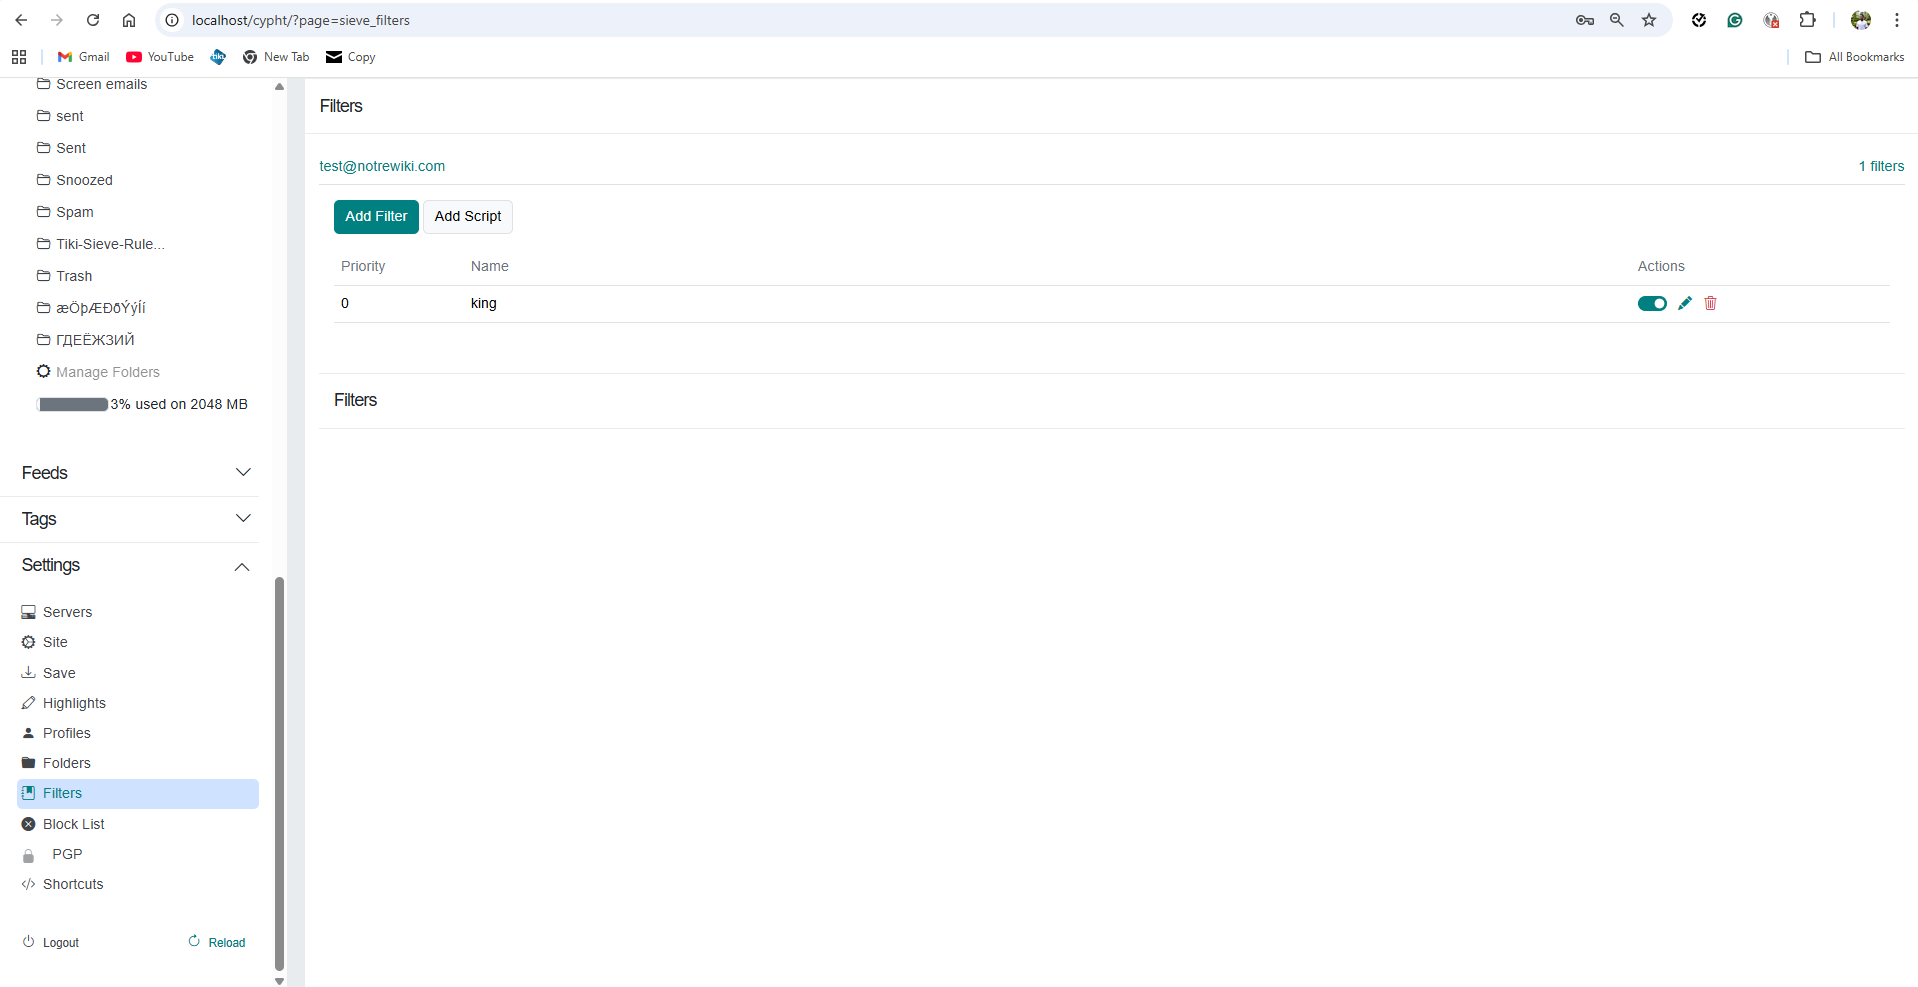
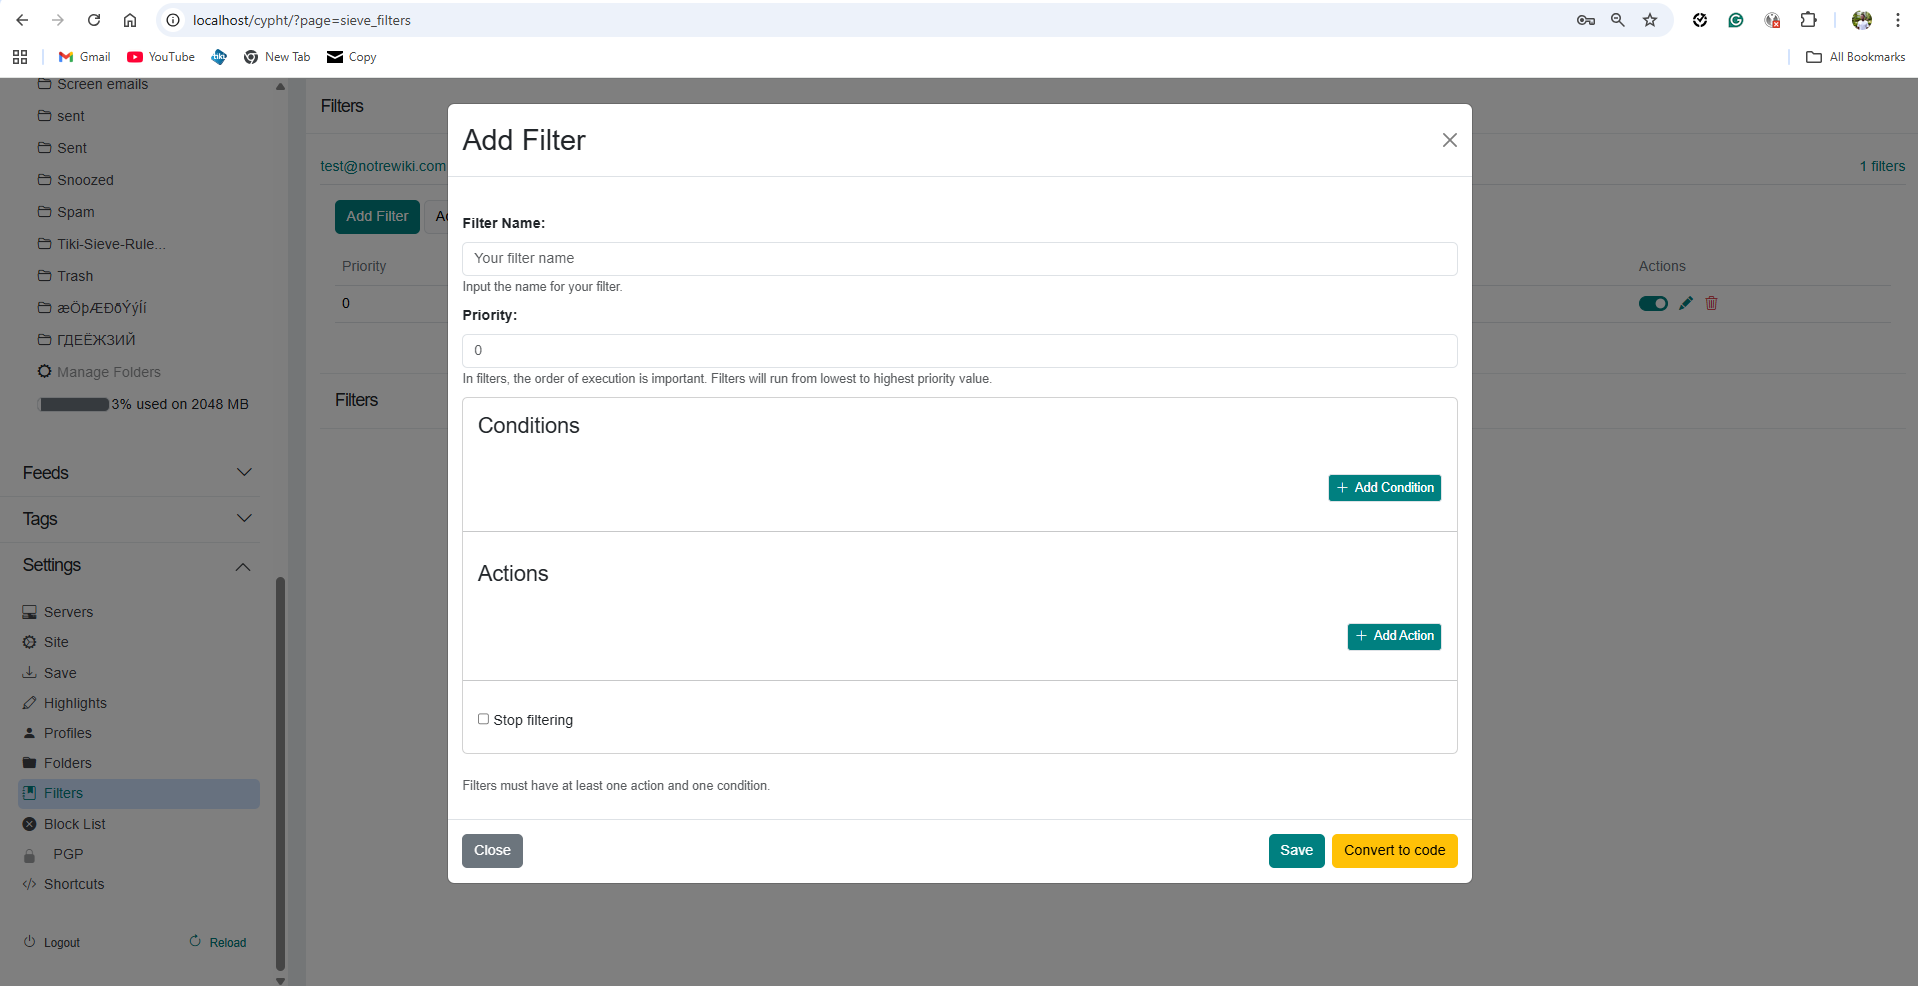
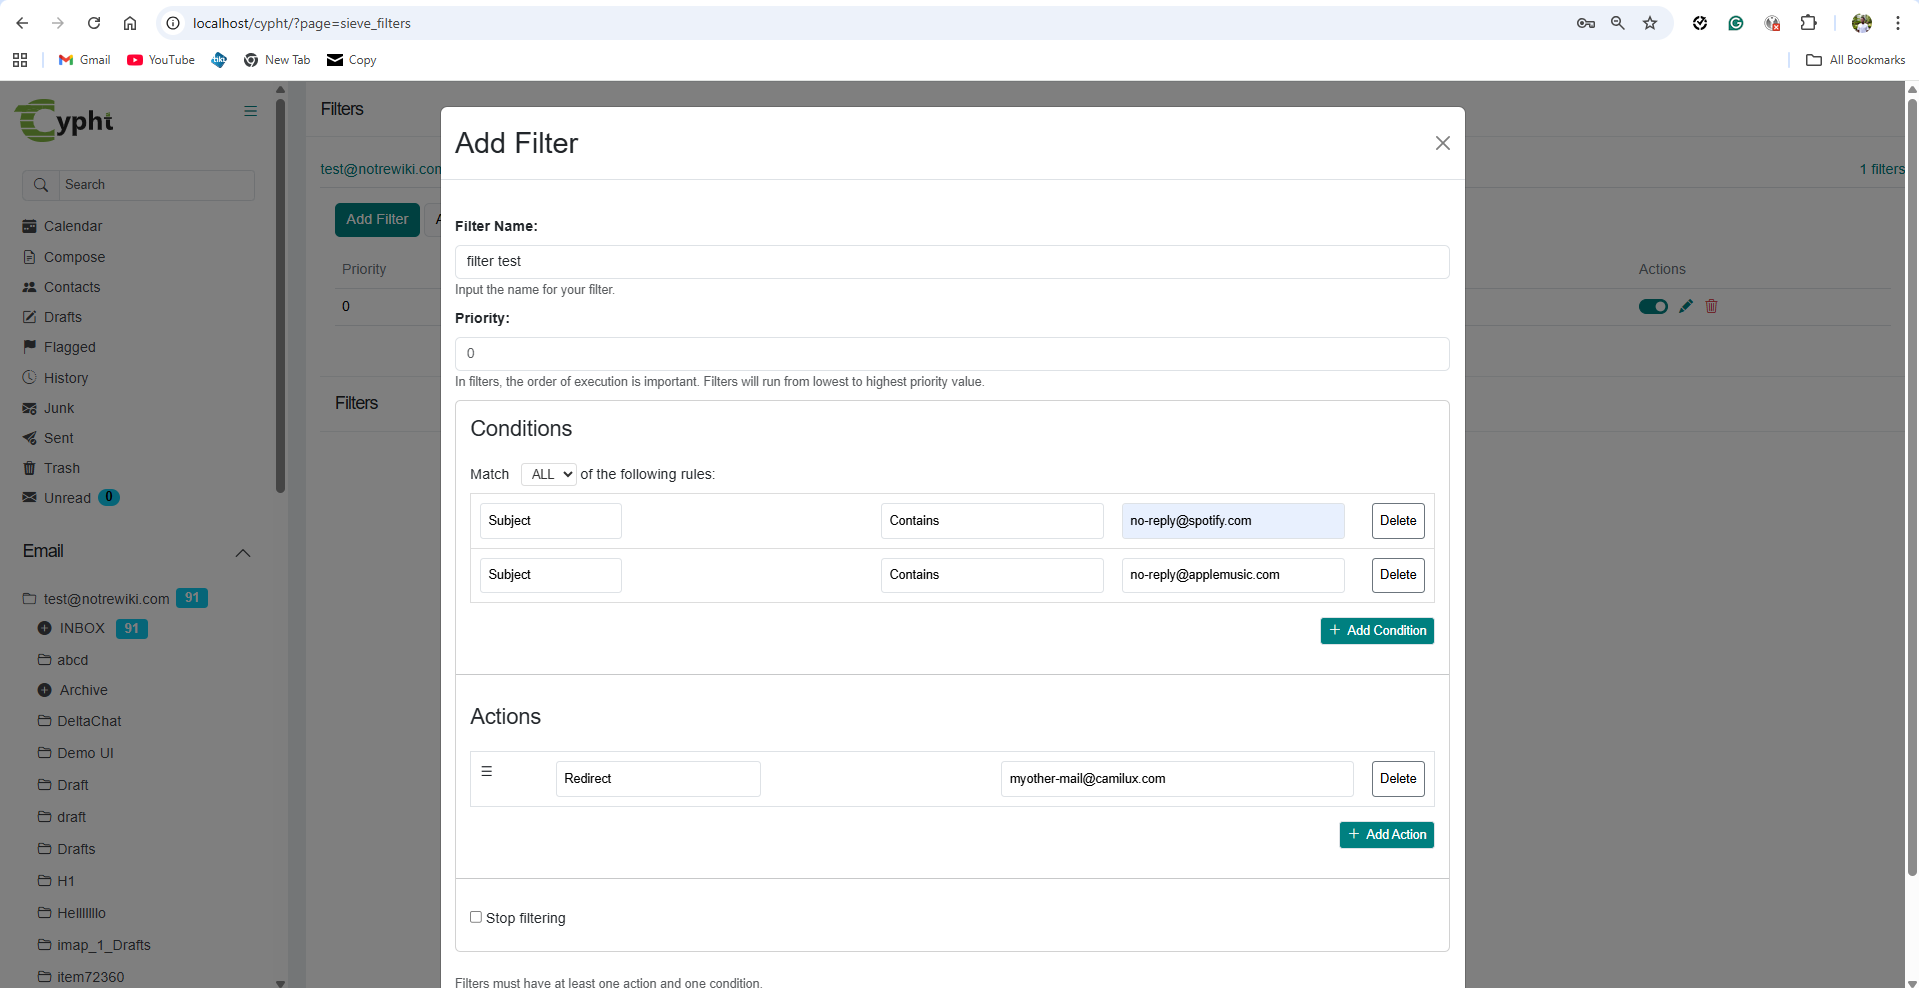
Priority order
Filters run from the lowest priority value to the highest. Place precise, high-confidence rules at lower numbers and broad catch-all rules at higher numbers to avoid conflicts.Quick Actions dropdown
Clicking Quick Actions opens a dropdown listing all your saved filters plus a Create from Selected entry.
Reusable actions
All saved filters appear in the Quick Actions dropdown so you can quickly edit them from the message list and DRY RUN Test them.
Quick editing
Selecting an existing filter opens the edit modal directly, which makes it easy to refine the rule before using it again.
- Select one or more messages in the current mailbox view.
- Click the Quick Actions button in the toolbar.
- Click Create from Selected.
- Review the auto-populated conditions (From addresses and Subject keywords are prefilled from the selected messages).
- Adjust the matching options:
- From: Matches / Does Not Match
- Subject: Contains / Does Not Contain / Ignore Subject
- Choose the action to apply.
- Click Dry Run to test the filter against messages already loaded in the list — matched and unmatched messages are shown in a results panel so you can verify the rule before committing.
- Save the filter.


Auto-populated conditions
Cypht prefills From addresses and Subject keywords from the selected messages so you start from real data instead of an empty form.Dry Run is only available when creating or editing filters from the message list (e.g. via Quick Actions → Create from Selected). It is not available on the Sieve Filters settings page or when creating a filter from an opened message, because there is no message list to test against.
- Create a filter from selected messages or open an existing filter from the Quick Actions dropdown.
- Adjust the conditions, actions, and match logic.
- Click Dry Run in the modal.
- Review the matched and unmatched messages in the results panel.
- Close the results panel, refine the filter, and run it again if needed.
- Save only when the previewed behavior is correct.
Preview results
Matched and unmatched messages are listed in a dismissible results panel. Refine conditions and run again until the preview is correct.
Respects filter logic
Dry Run uses the same ALLOF / ANYOF logic as the real filter, so the preview matches real-world behavior.
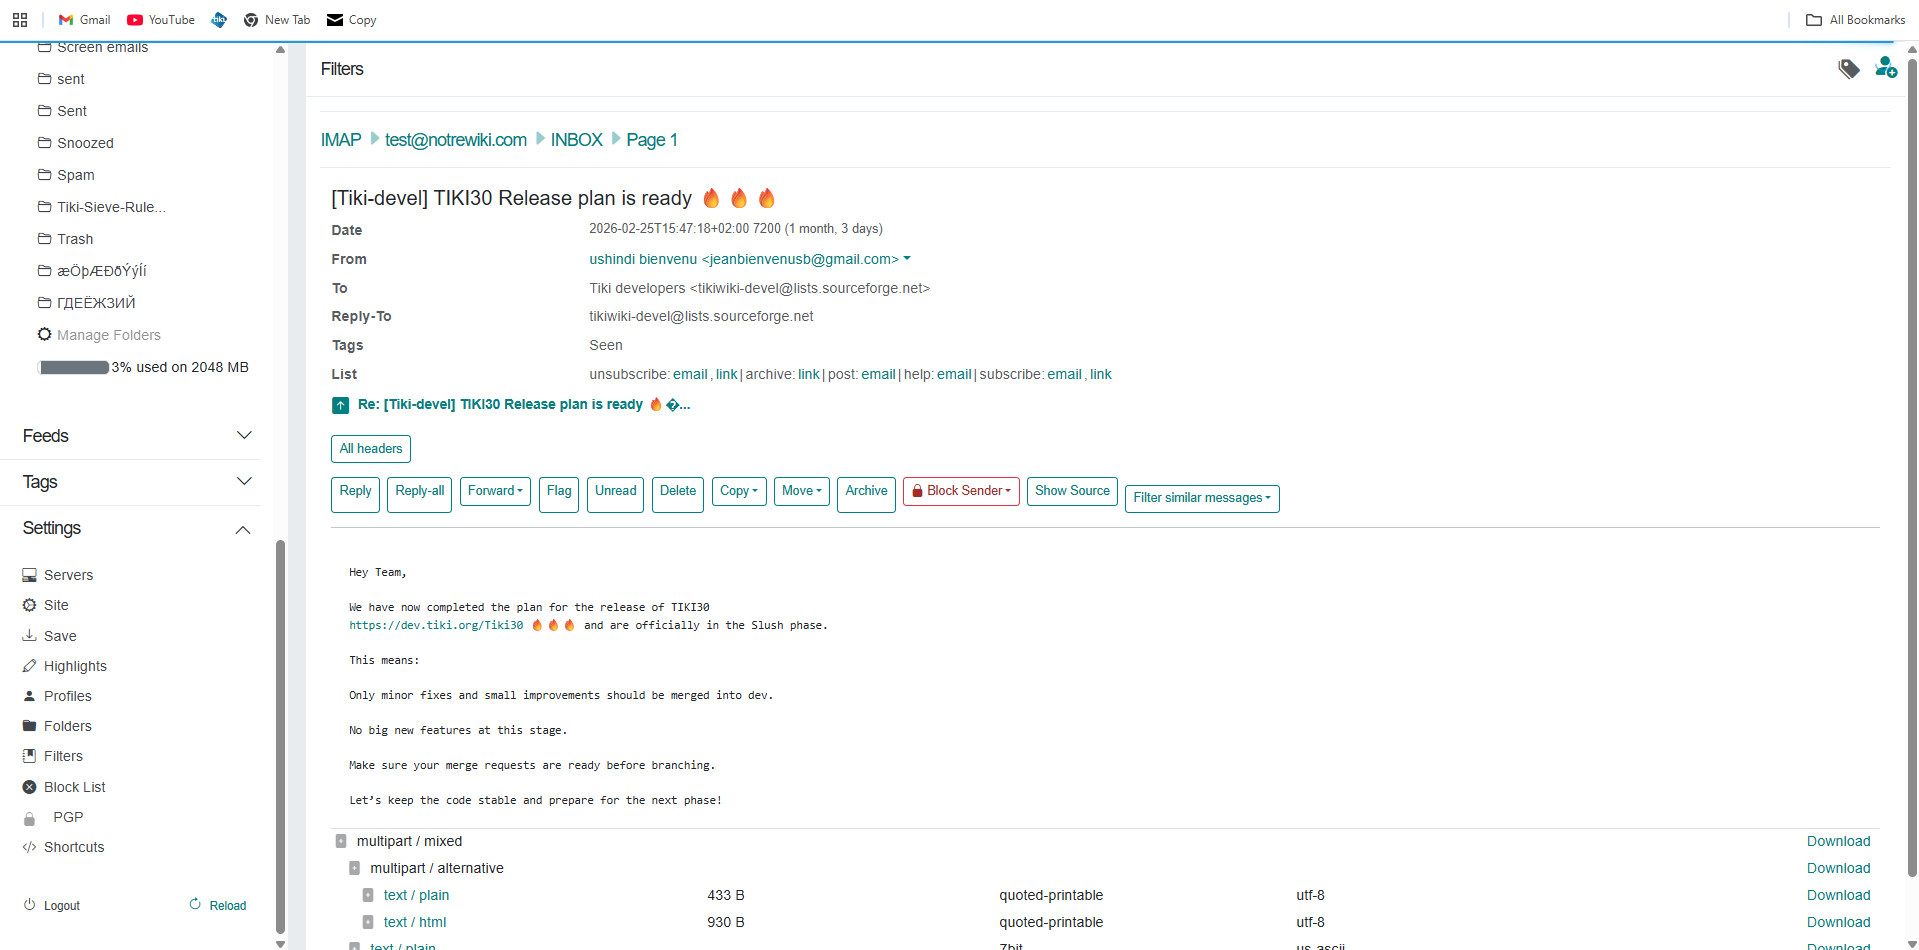
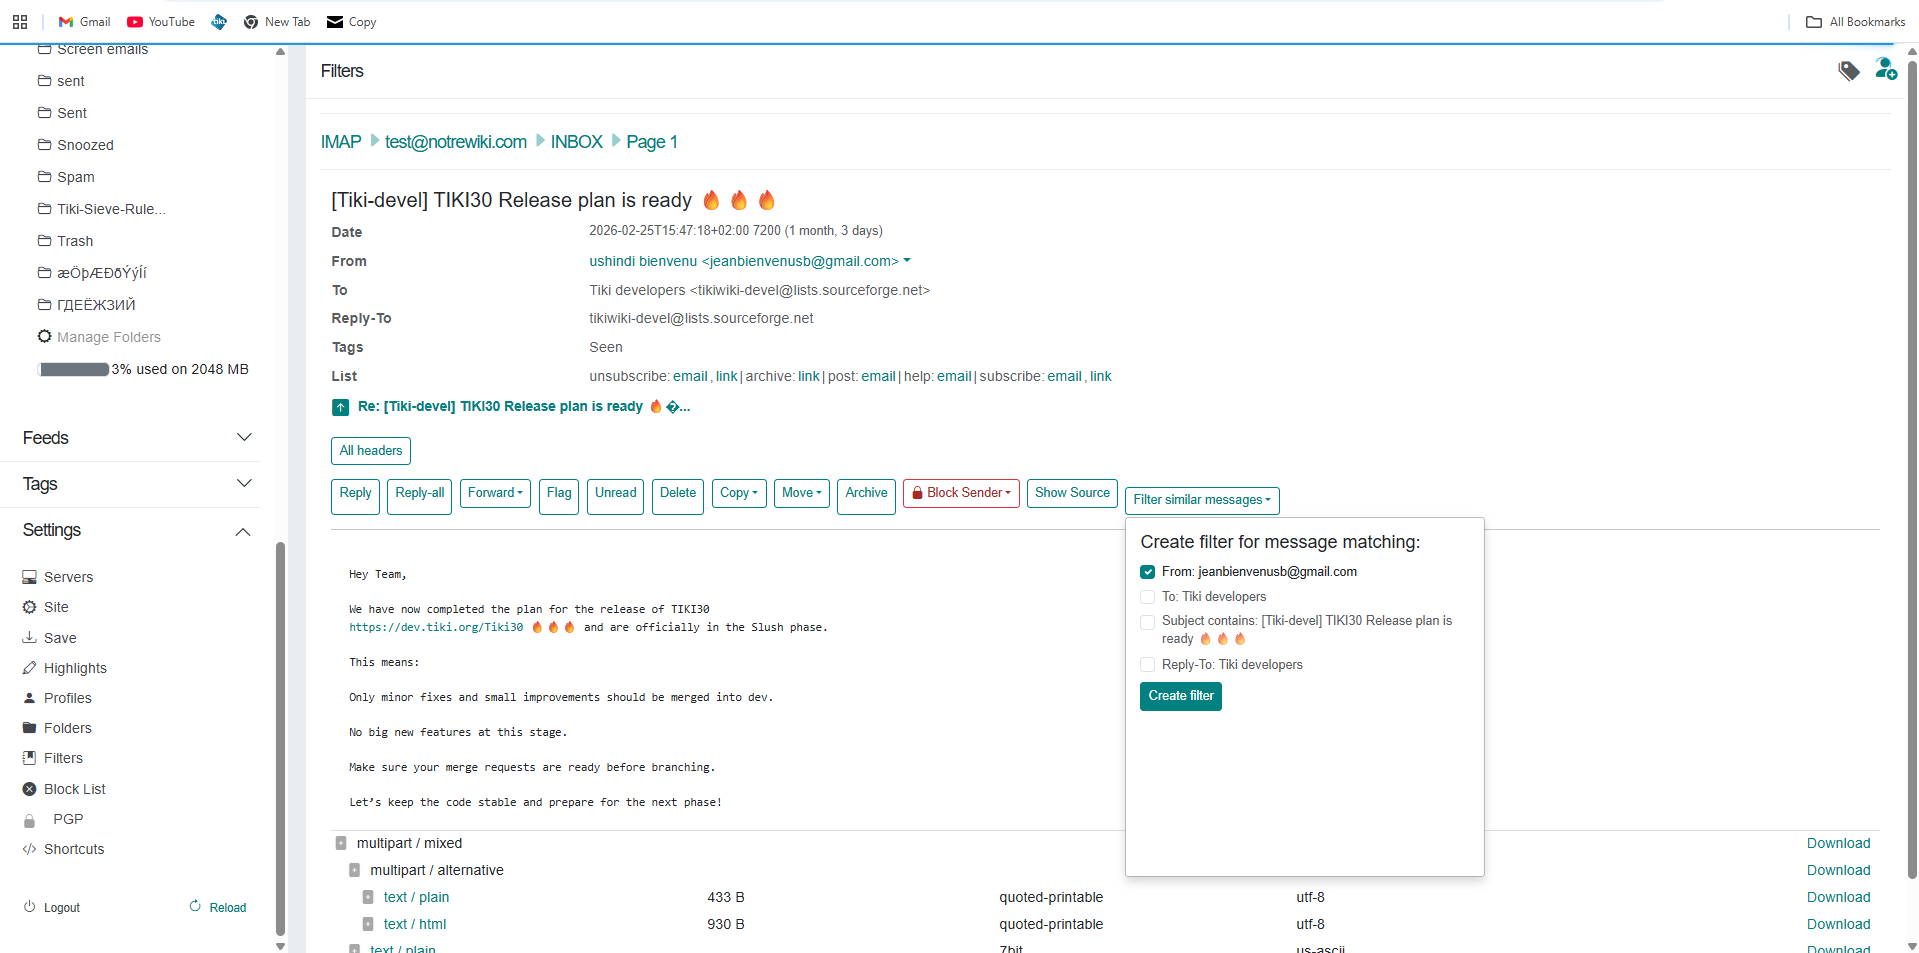
- Open the message you want to base the filter on.
- Click Filter similar messages in the message actions area.
- Select the fields to match (From, To, Subject, Reply-To) and click Create filter.
- Review the prefilled conditions — Cypht auto-populates the filter name, sender, recipient, and subject from the opened message.
- Adjust the conditions and choose the action (move, flag, discard, etc.).
- Save the filter.
One-click starting point
This is the fastest way to react to a single message. You do not need to go to Settings or select multiple messages first — just open the email and create the rule from it.The filter is saved to the same Sieve Filters list on the Settings page. You can edit or delete it later from there, or reuse it as a custom action.
Verify that the sievefilters module is enabled and that your instance has been reloaded after the configuration change.
Check whether your provider supports ManageSieve and whether the selected account is the same mailbox that receives the tested messages.
When debugging, disable or simplify overlapping rules. Two filters that both match the same message can produce inconsistent behavior when the real issue is rule order.
On this page